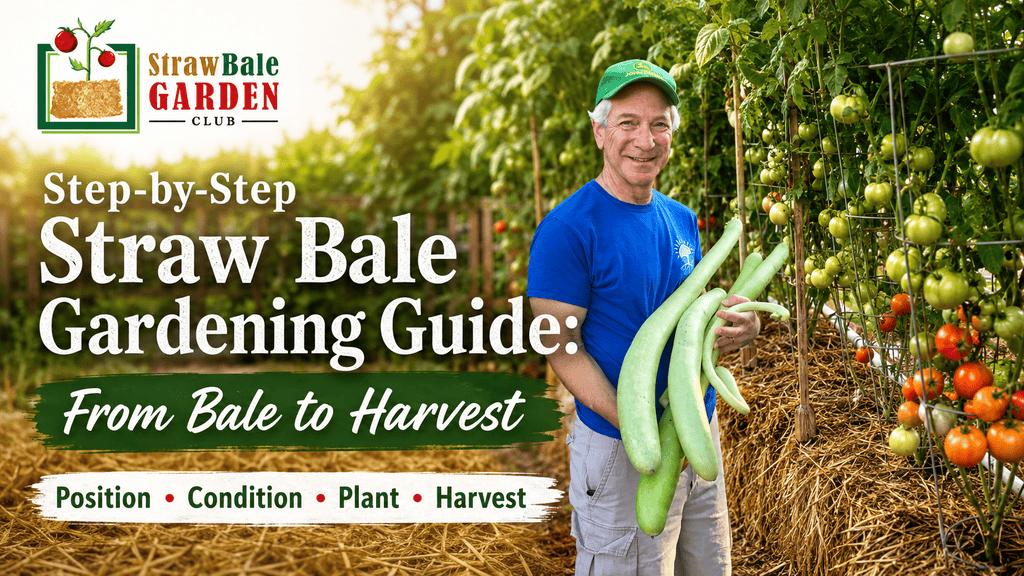
Want to grow fresh vegetables but don’t have great garden soil? Straw bale gardening offers a practical alternative.
Instead of digging, tilling, or filling raised beds with soil, you can turn ordinary straw bales into productive growing beds. The secret is conditioning—a preparation process that encourages microorganisms inside the bale to begin breaking down the straw before planting.
Once properly conditioned, the bale becomes a warm, moist growing environment where vegetables, herbs, and flowers can establish their roots.
This step-by-step guide will walk you through the process—from choosing your bales to harvesting your first vegetables.
What You’ll Need
You don’t need expensive equipment to start a straw bale garden.
Gather these basic supplies:
- Clean, tightly bound straw bales
- Garden hose or watering can
- Bale conditioner or appropriate fertilizer
- Vegetable seeds or seedlings
- Potting mix for direct-seeded crops
- Hand trowel
- Gardening gloves
- Trellis, stakes, or cages for plants that need support
Start with just a few bales if this is your first season. You can always expand your garden once you’re comfortable with the method.
Step 1: Find Good Straw Bales
Your first job is finding suitable bales.
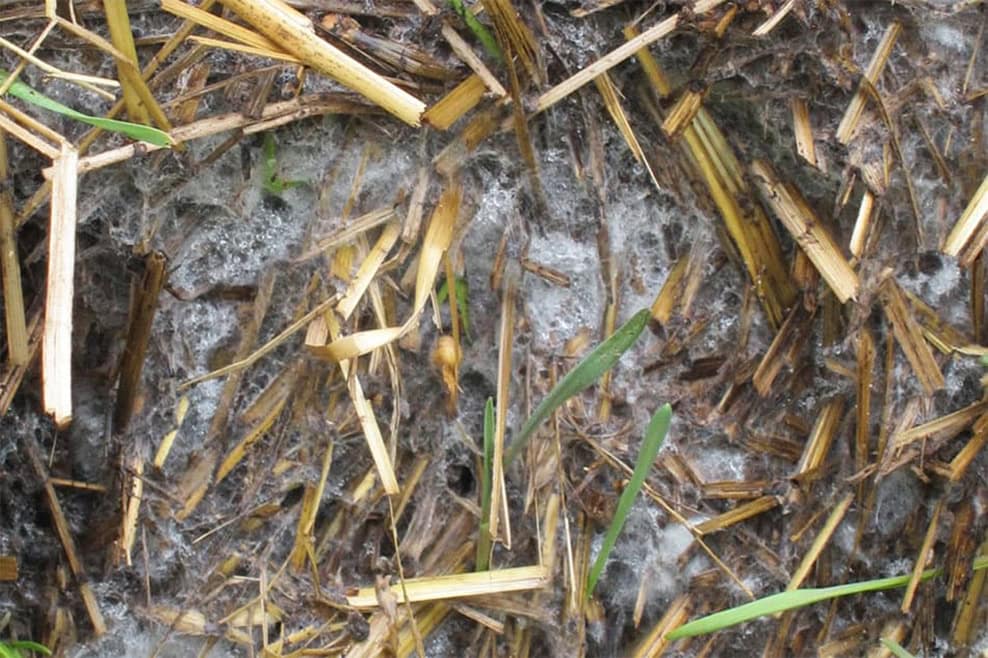
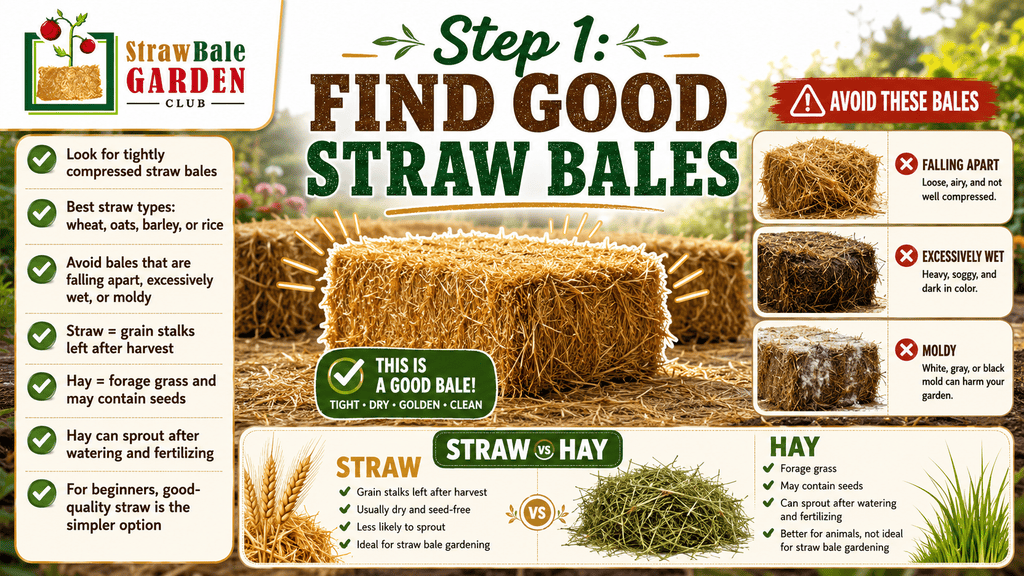
Look for tightly compressed bales of straw made from crops such as wheat, oats, barley, or rice. Avoid bales that are already falling apart, excessively wet, or visibly moldy.
Straw and hay are also different.
Straw is primarily the stalk remaining after grain harvest. Hay is generally grass or another forage crop harvested for animal feed and may contain viable seeds.
Hay can sometimes be used successfully, but its seed content can lead to unwanted sprouts after watering and fertilizing. For a beginner, good-quality straw is usually the simpler option.
Step 2: Choose the Right Location
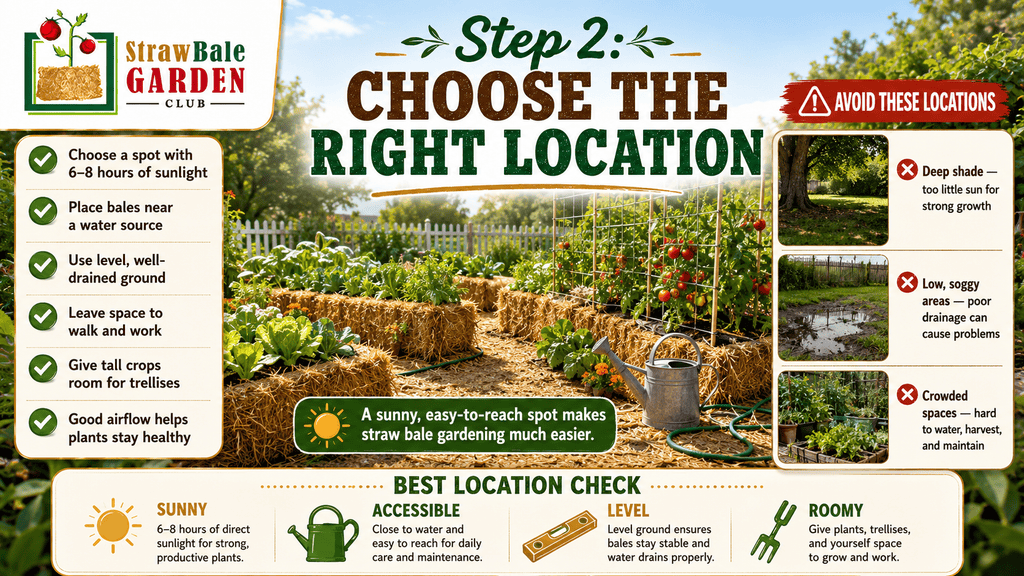
Before adding water, decide exactly where your bales will stay.
This is important because a dry straw bale is relatively easy to move. A thoroughly watered bale is much heavier.
Most fruiting vegetables need plenty of direct sunlight, so choose a sunny location. Aim for approximately six to eight hours of sunlight per day.
Your garden should also be:
- Close to a water source
- Easy to access
- On a reasonably stable surface
- Positioned where drainage won’t cause problems
One of the advantages of straw bale gardening is that the bales can be positioned in places where an ordinary vegetable garden may be difficult, including areas with poor soil and some hard surfaces.
Step 3: Position Your Bales Correctly
Arrange the bales before conditioning begins.
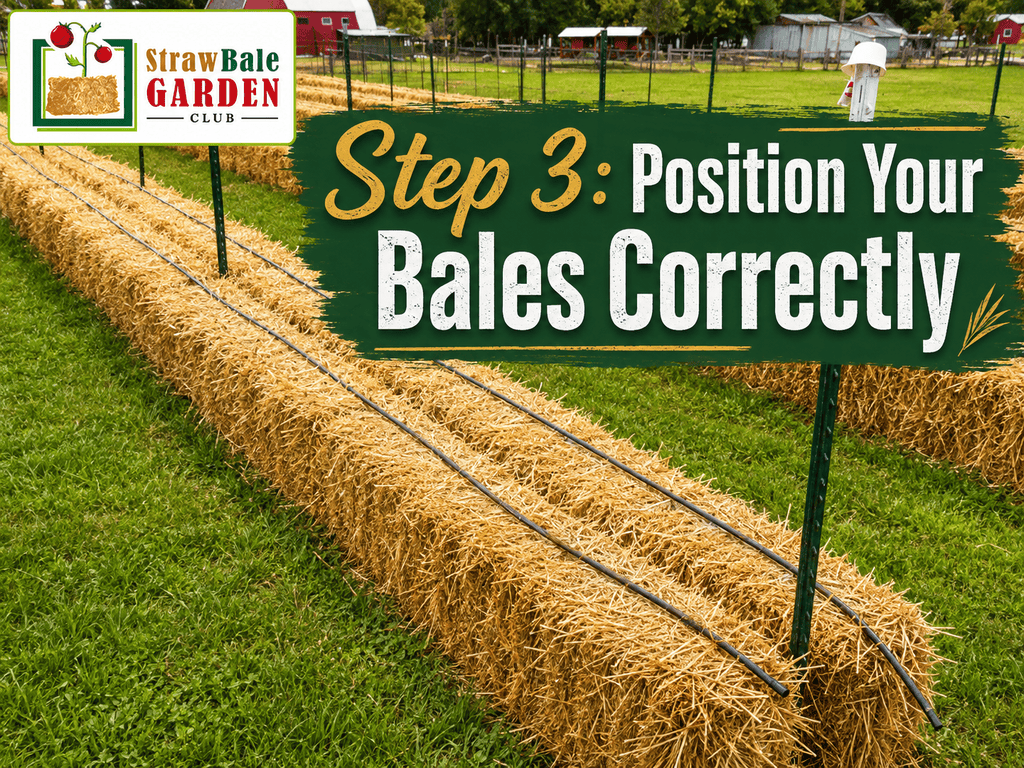
For best results, position the cut side of the bale facing upward. The open ends of the straw stalks make it easier for water and conditioning nutrients to penetrate into the bale.
Keep the strings around the sides rather than underneath the bale, particularly when natural-fiber twine is used. Maintaining compression helps the bale stay together as decomposition progresses.
You can arrange your bales in:
- Straight rows
- Small groups
- U-shaped gardens
- Borders
- Individual growing stations
Leave enough room to walk between them and reach your plants comfortably.
Step 4: Install Trellises Early
If you’re planning to grow tomatoes, cucumbers, pole beans, or other climbing plants, consider installing your support system before the garden becomes crowded.
Early installation makes maintenance much easier later.
Strong posts positioned at the ends of a bale row can support wires, twine, netting, or other trellising materials.
A good trellis helps:
- Keep plants upright
- Improve airflow
- Keep fruit easier to see
- Simplify harvesting
- Make better use of vertical space
Planning your supports now can save a lot of work halfway through the growing season.
Step 5: Begin Conditioning the Bales
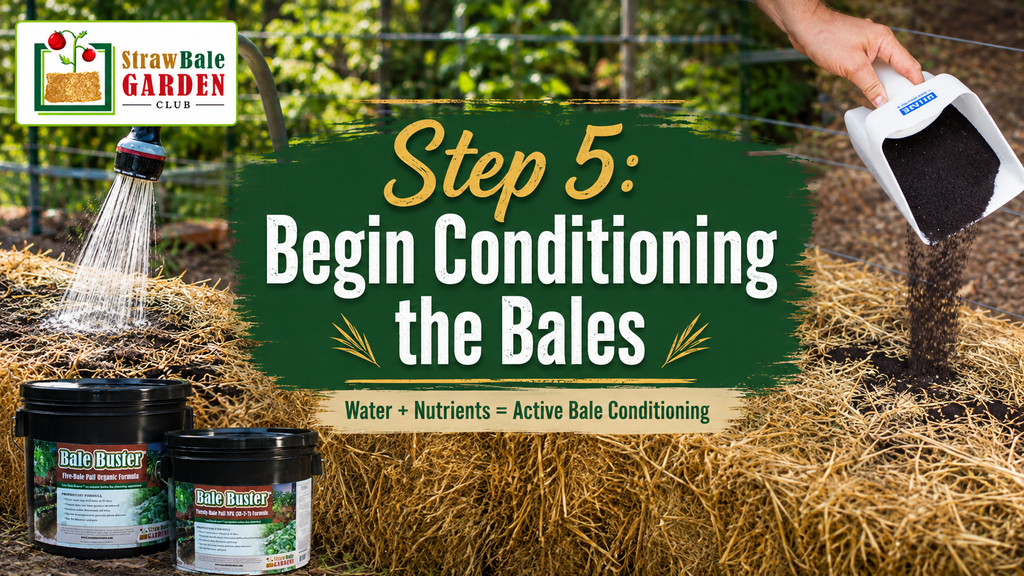
This is the most important part of the entire process.
Do not plant directly into a fresh bale.
A fresh straw bale hasn’t yet developed the biological activity needed to become an effective growing environment.
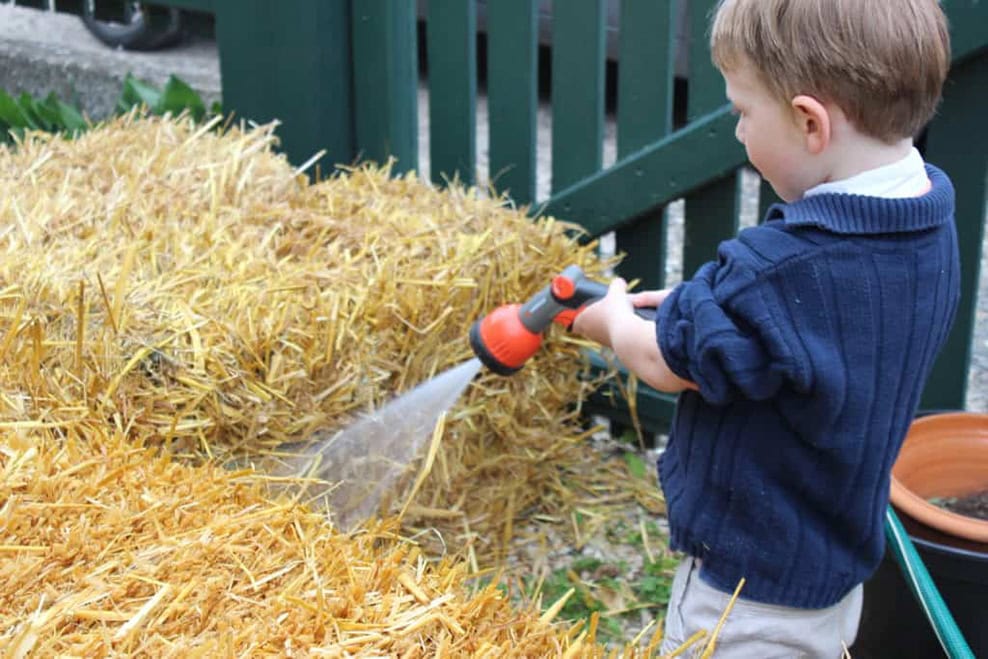
Conditioning involves applying water and nutrients over a period of days to stimulate microbial activity inside the bale.
As microorganisms multiply, they begin breaking down the straw fibers.
The bale may start warming internally as this process becomes active.
The official Straw Bale Gardens method describes conditioning as roughly a 10–12 day process, with preparation beginning about two weeks before the target planting date.
The exact conditioning instructions depend on whether you’re following an organic or conventional program and which conditioning product you’re using.
Always follow the directions for your chosen conditioning method rather than estimating fertilizer amounts.
Step 6: Keep the Bale Moist During Conditioning
Water plays an essential role in decomposition.
The microorganisms responsible for breaking down the straw need moisture to remain active.
During conditioning, water the bale according to the conditioning schedule so moisture and nutrients penetrate into its interior.
The goal is moist—not unnecessarily flooded.
Too little water can slow microbial activity.
Excessive watering, on the other hand, can wash nutrients through the bale.
Consistency matters more than simply pouring as much water as possible onto it.
Step 7: Watch the Bale Transform
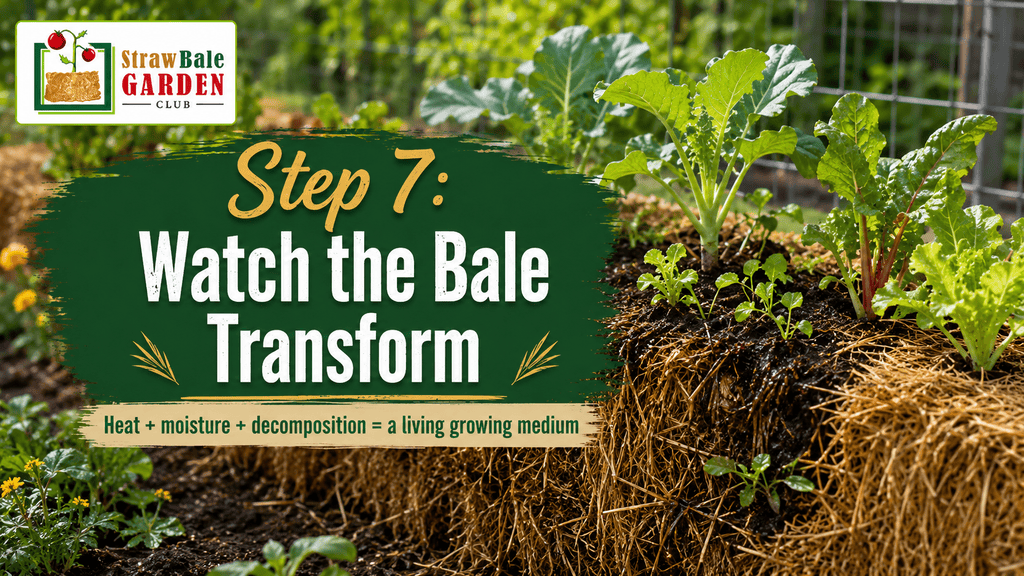
Most of the interesting activity is happening inside.
As bacteria and other microorganisms become active, they begin breaking down the straw’s structure.
The bale may feel warmer than the surrounding air.
This warming is a sign of microbial activity, but don’t panic if your bale doesn’t become extremely hot. Cooler weather can slow decomposition, and a properly followed conditioning program can still prepare the bale successfully.
Over time, the interior starts becoming softer and more decomposed.
Think of the process like this:
Straw + Water + Nutrients + Microorganisms → Decomposition → Growing Environment
This transformation is what separates straw bale gardening from simply sticking plants into dry straw.
Step 8: Make Sure the Bale Is Ready for Planting
Once conditioning is complete, it’s almost time to plant.
If the interior became very warm during conditioning, allow it to cool sufficiently before introducing young roots.
A seedling placed into an excessively hot bale may become stressed or damaged.
The inside should feel warm and biologically active rather than dangerously hot.
Once the conditioning schedule has been completed and the bale is ready, you can move on to planting.
Step 9: Plant Seedlings Directly Into the Bale
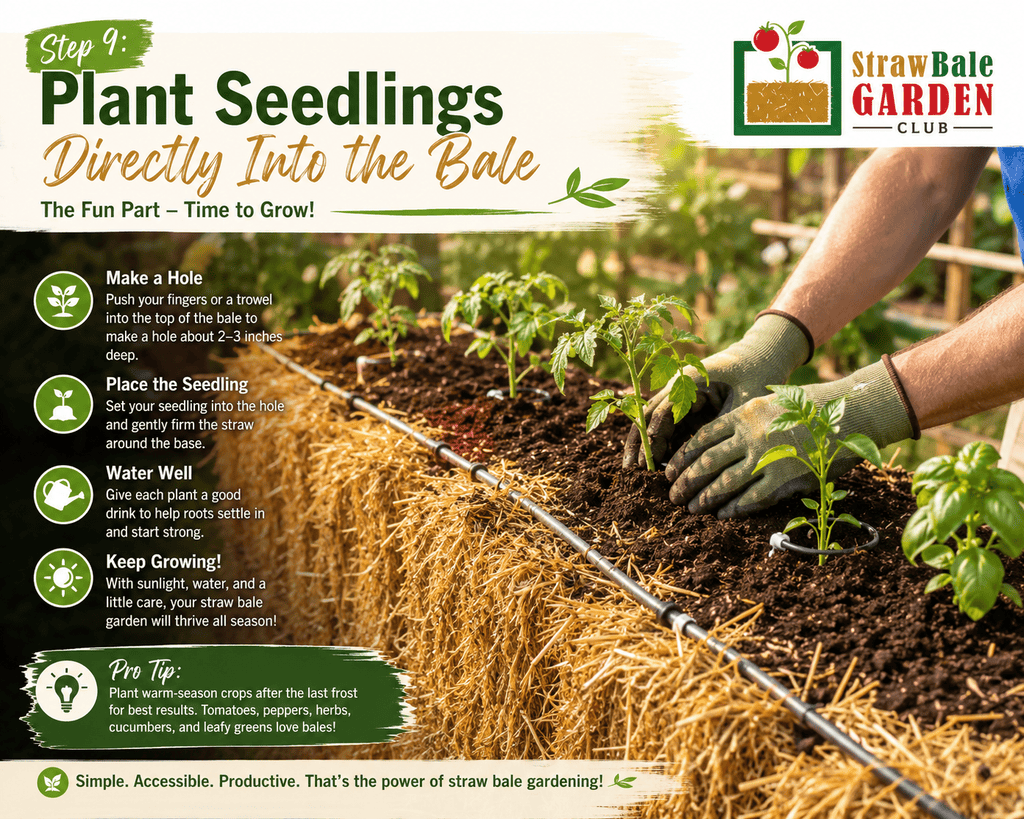
Transplants are particularly easy to establish in conditioned bales.
Use a hand trowel or your hands to separate the straw and create a planting opening.
Gently remove your seedling from its container and place the root ball into the opening.
You can add a small amount of quality potting mix around the root ball if needed.
Firm the surrounding material gently so the plant remains upright.
Good beginner transplants include:
- Tomatoes
- Peppers
- Eggplants
- Cucumbers
- Squash
- Herbs
Remember to consider the plant’s mature size. A tiny tomato seedling can eventually become a very large plant.
Step 10: Plant Seeds on Top
You aren’t limited to transplants.
Seeds can also be started directly on a conditioned bale.
Spread a shallow layer of clean planting mix across the top of the bale. Sow the seeds into this layer according to the depth and spacing recommendations on the seed packet.
This method works particularly well for smaller seeds because the planting mix provides a more consistent surface for germination than coarse straw.
You might try:
- Lettuce
- Spinach
- Radishes
- Carrots
- Herbs
- Other leafy greens
Keep the surface consistently moist while the seeds germinate.
Step 11: Water Your Growing Garden
Once your plants are established, regular watering becomes part of your routine.
The goal is to keep adequate moisture available around the root zone without constantly saturating the bale.
How often you need to water depends on:
- Temperature
- Rainfall
- Wind
- Plant size
- Stage of growth
- Bale decomposition
During cool or rainy periods, watering may be less frequent. Hot summer weather may require daily attention.
Check the bale instead of blindly following the same watering schedule all season.
A drip irrigation or soaker system can make managing multiple bales much easier.
Step 12: Feed Your Plants When Necessary
Conditioning prepares the bale, but actively growing vegetables still need adequate nutrition.
Large, productive crops—particularly tomatoes, cucumbers, peppers, and squash—can have substantial nutrient demands.
Follow the feeding recommendations appropriate for your gardening method and fertilizer.
Watch your plants.
Healthy plants generally have:
- Strong new growth
- Good leaf color
- Sturdy stems
- Consistent flowering
- Healthy fruit development
Yellowing, weak growth, or poor production may indicate that something needs attention, although nutrient deficiency isn’t the only possible cause.
Step 13: Train and Support Your Plants
Don’t wait until your tomato plant is falling over before thinking about support.
As plants grow, attach them carefully to their trellis, cage, or stake.
Cucumbers and beans can be encouraged to climb vertically.
Tomatoes may need cages, stakes, or overhead support depending on the variety.
Vertical growing can help improve airflow and make harvesting easier while allowing you to maximize a relatively small garden area.
Step 14: Monitor for Pests and Disease
Straw bale gardening can eliminate some of the frustrations associated with traditional soil gardening, but it doesn’t make plants immune to every garden problem.
Inspect your plants regularly.
Look underneath leaves and around stems for:
- Insect damage
- Eggs
- Discolored leaves
- Wilting
- Spots
- Damaged fruit
Early detection is much easier to manage than a major infestation.
Good airflow, appropriate spacing, proper watering, and healthy plant growth are all valuable parts of garden management.
Step 15: Harvest Regularly
Now comes the rewarding part.
Harvest vegetables as they mature.
Picking frequently can encourage continued production in crops such as:
- Beans
- Cucumbers
- Peppers
- Tomatoes
- Zucchini
Leafy vegetables can often be harvested gradually by removing mature outer leaves while allowing the center to continue growing.
The more regularly you visit your garden, the easier it becomes to notice vegetables at their ideal harvesting stage.
What Happens to the Bale During the Season?
Your bale will not look the same at the end of summer as it did when you purchased it.
That’s expected.
Decomposition continues while your plants grow. The bale gradually becomes softer and may shrink or lose some of its original shape.
This is part of the process—not necessarily a sign that something has gone wrong.
If an older bale begins losing too much structural integrity, additional support around it may help hold the material together.
What Should You Do With the Bale After Harvest?
Don’t throw it away.
By the end of the growing season, you have partially decomposed organic material that can still be useful.
Old bales can be:
- Added to a compost pile
- Used as organic material around garden areas
- Further composted
- Used to improve future planting beds
Depending on its condition, a bale may even be useful for another growing season. More decomposed second-year bales can be suitable for certain cool-season vegetables.
This gives straw bale gardening a useful cycle:
Straw Bale → Growing Bed → Vegetable Harvest → Decomposed Organic Material → Future Garden Resource
Common Mistakes to Avoid
Planting too early
Don’t skip conditioning. It is the process that turns the bale into a suitable growing environment.
Buying poor-quality bales
Start with tightly compressed straw whenever possible.
Positioning bales after watering
Move them first. Condition them second.
Overwatering
More water isn’t automatically better. Maintain adequate moisture without continuously flushing the bale.
Overcrowding
Give mature plants enough space for sunlight and airflow.
Forgetting supports
Install trellises and stakes before plants become difficult to manage.
Ignoring your plants
Even a low-maintenance garden benefits from regular observation.
A Simple Straw Bale Gardening Timeline
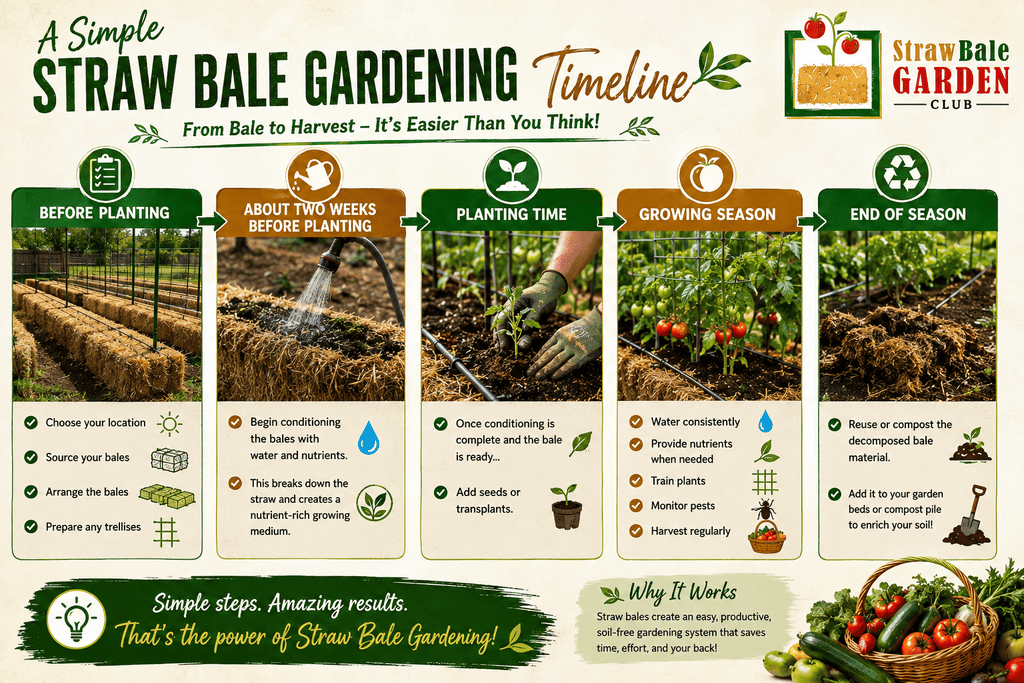
Before planting:
Choose your location, source your bales, arrange them, and prepare any trellises.
About two weeks before planting:
Begin conditioning the bales with water and nutrients.
Planting time:
Once conditioning is complete and the bale is ready, add seeds or transplants.
Growing season:
Water consistently, provide nutrients when needed, train plants, monitor pests, and harvest regularly.
End of season:
Reuse or compost the decomposed bale material.
Ready to Start?
Straw bale gardening may look unusual the first time you see vegetables growing from a row of golden bales, but the process is surprisingly straightforward.
Remember the three core stages:
1. Position the Bale
Choose a sunny location and arrange your garden before watering.
2. Condition It
Use water and nutrients to activate decomposition and prepare the bale for planting.
3. Plant & Grow
Add your vegetables, maintain moisture and nutrition, and enjoy your harvest.
You don’t need perfect soil, a large backyard, or years of gardening experience to begin.
Start with a bale. Condition it properly. Plant something you love to eat. And grow from there.
Visit StrawBaleGardens.com for more guides, videos, conditioning resources, and expert advice from Joel Karsten.