
Straw Bale Gardening for Beginners: A Simple Step-by-Step Guide
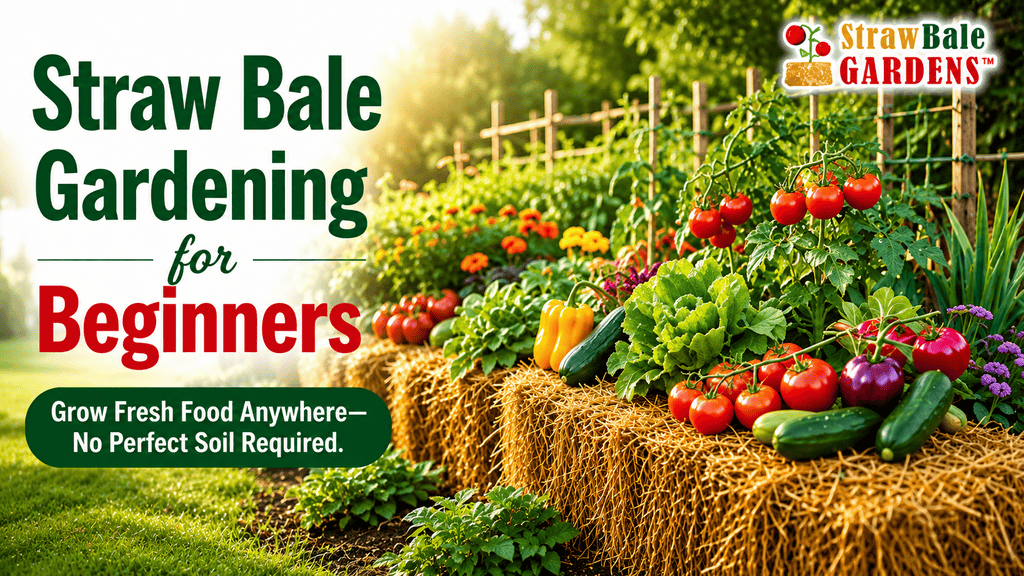
Straw bale gardening is an easy and practical way to grow vegetables, herbs, and flowers without digging into the ground or building traditional raised beds. Instead of planting directly in soil, you plant into conditioned straw bales that gradually break down and provide a warm, nutrient-rich environment for plant roots.
This gardening method is especially helpful for beginners, people with limited space, gardeners with poor soil, and anyone who wants a cleaner and more accessible way to grow food at home.
What Is Straw Bale Gardening?
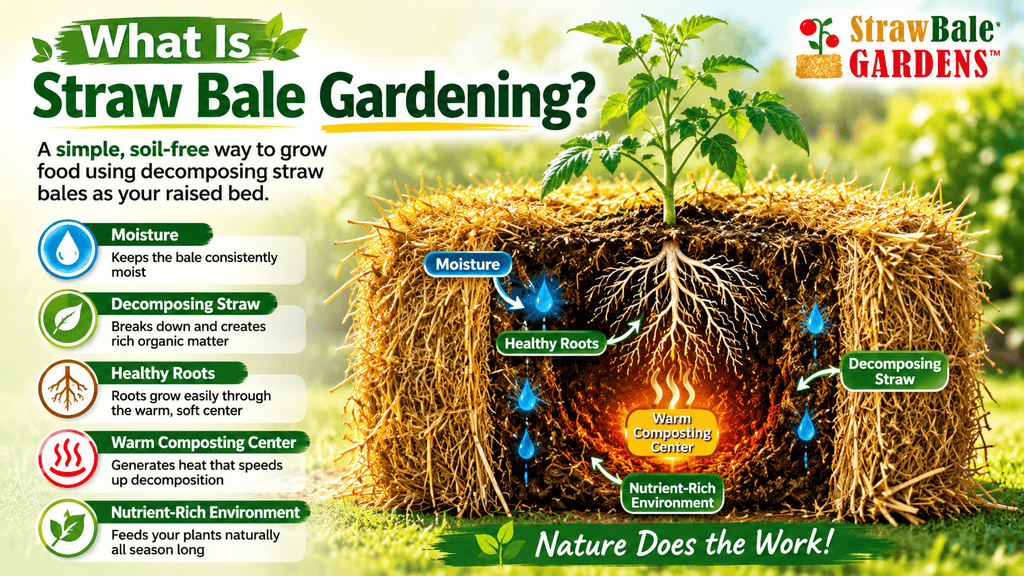
Straw bale gardening is a method of using tightly bound straw bales as both the growing container and the growing medium.
Before planting, the bales are watered and conditioned with nutrients. This starts the natural decomposition process inside the bale. As the straw breaks down, the center becomes soft, warm, and suitable for growing plants.
The bale functions much like a raised garden bed, but there is no need to purchase large amounts of soil, remove grass, dig garden rows, or build wooden frames.
Why Choose Straw Bale Gardening?
Straw bale gardening offers several advantages for new and experienced gardeners.
Less digging and bending
The raised height of the bale makes planting, watering, and harvesting easier. This can be especially beneficial for older adults and people with back, knee, or mobility concerns.
Suitable for poor soil
Because plants grow inside the bale, the quality of the ground underneath is less important. You can place the bales over compacted soil, grass, gravel, pavement, or other suitable surfaces.
Fewer weeds
Straw bales usually contain fewer weed seeds than garden soil or hay. Although a few sprouts may occasionally appear, weed control is generally much easier than in a traditional garden.
Better drainage
Excess water can drain through the bale, reducing the risk of waterlogged soil. However, the bale must still be watered regularly because it can dry out faster during hot weather.
Useful for small spaces
A few bales can create a productive garden on a patio, driveway, rooftop, or small backyard.
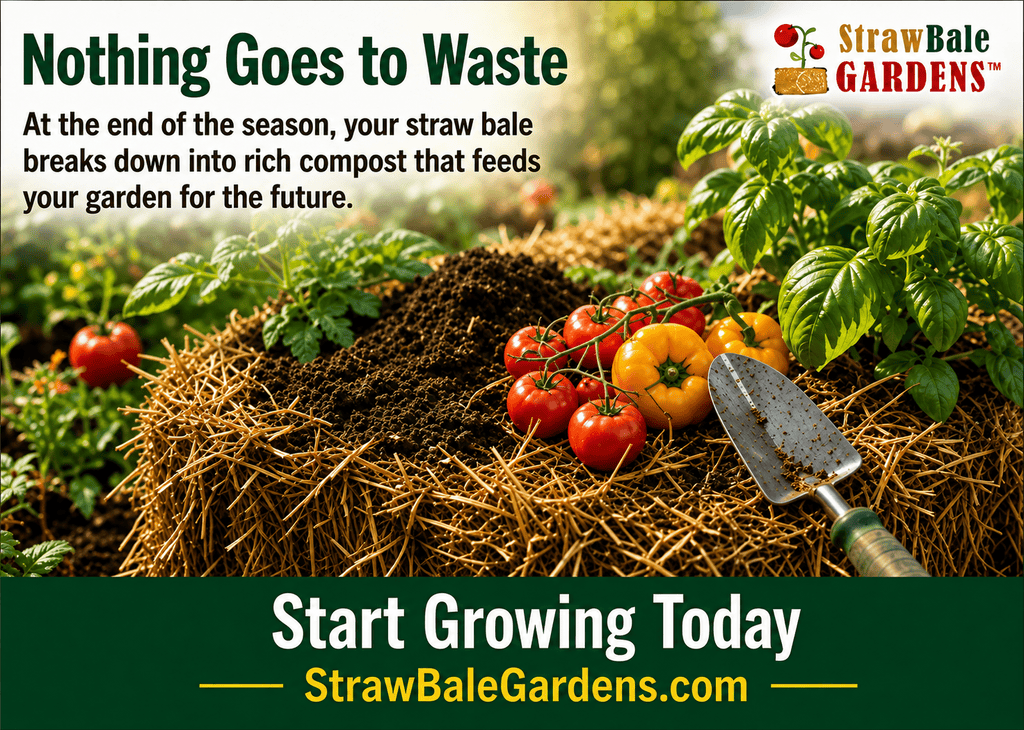
End-of-season compost
After the growing season, the decomposed straw can be added to a compost pile or spread around garden beds as organic material.
What Can You Grow in Straw Bales?
Many common garden plants grow well in conditioned straw bales.
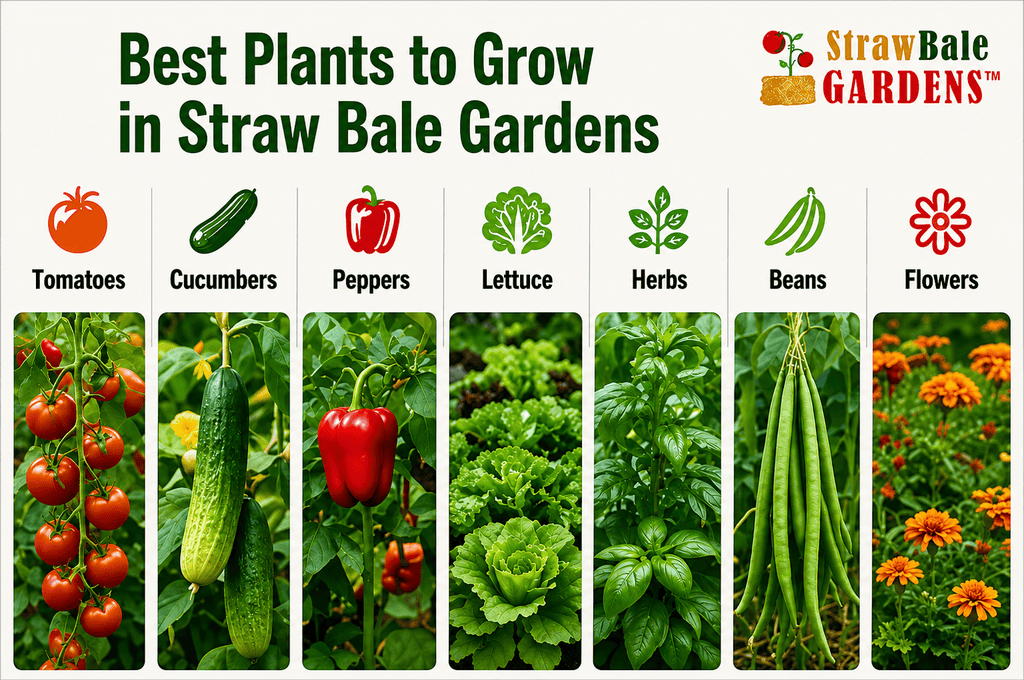
Good choices for beginners include:
- Tomatoes
- Peppers
- Cucumbers
- Lettuce
- Kale
- Spinach
- Beans
- Squash
- Zucchini
- Herbs
- Flowers
Large plants such as tomatoes, cucumbers, and squash need adequate spacing and may require cages, stakes, or trellises. Root crops can also be grown, although beginners may find leafy greens, herbs, tomatoes, and peppers easier for their first season.
What You Need to Get Started
ou do not need a large collection of gardening tools.
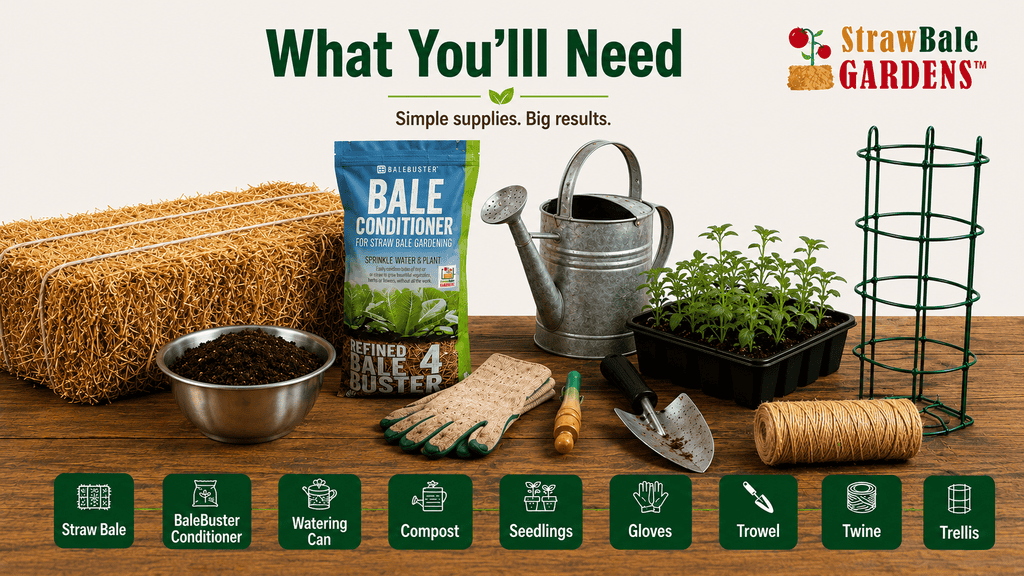
Basic supplies include:
- Clean straw bales
- A reliable water source
- Bale-conditioning nutrients or fertilizer
- Seeds or healthy seedlings
- A garden trowel
- Compost or quality potting mix
- Plant supports, if needed
- Gardening gloves
A hose with a gentle spray nozzle can make watering and bale conditioning easier.
Step 1: Choose the Right Location
Place your bales in their permanent location before you begin conditioning them. Once the bales absorb water, they become heavy and difficult to move.
Choose a location that receives at least six hours of sunlight each day for most vegetables.
You should also make sure the area is:
- Close to a water source
- Easy to access
- Level and stable
- Away from areas where standing water collects
If the bales are placed on a deck, rooftop, or paved surface, consider how excess water will drain.
Step 2: Position the Bales Correctly
Place each bale so the cut ends of the straw face upward and the strings run along the sides.
The narrow stalks should look like small hollow tubes when viewed from the top. This position allows water and nutrients to move more easily into the bale.
Do not cut or remove the strings. They help the bale keep its shape as it decomposes.
Leave enough space between rows for walking, watering, harvesting, and maintaining the plants.
Step 3: Condition the Straw Bales
Fresh straw is not immediately ready for planting. It must first go through a conditioning process.
Conditioning adds moisture and nutrients that encourage microorganisms to begin breaking down the straw. The internal temperature of the bale may rise during this process.
Water and nutrients are applied over several days according to the conditioning product or fertilizer program being used. Keep the bales consistently moist, but do not flood them so heavily that all nutrients wash away.
A properly conditioned bale should begin to feel softer inside. The internal temperature should also return to a safe level before planting.
Never plant seedlings while the center of the bale is still extremely hot, as excessive heat may damage young roots.
Step 4: Prepare the Planting Area
There are two common ways to plant in straw bales.
Planting seedlings
Use a trowel or your hands to create a hole in the top of the conditioned bale. Place a small amount of compost or quality potting mix inside the hole, then insert the seedling and gently firm the material around its roots.
Planting seeds
Spread a shallow layer of compost or potting mix across the top of the bale. Plant the seeds at the depth recommended on the seed packet.
The added growing mix helps small seeds establish roots before they grow deeper into the decomposing straw.
Step 5: Space Plants Properly
Avoid overcrowding the bales.
The exact number of plants per bale depends on the crop and variety. Large plants need more room than leafy greens or herbs.
As a general guide:
- Tomatoes may need approximately two plants per bale.
- Peppers may fit two to four plants per bale.
- Cucumbers may be planted with a trellis.
- Lettuce and herbs can be planted more closely.
- Squash and pumpkins may need extra room to spread.
Always consider the mature size of the plant rather than the size of the seedling at planting time.
Step 6: Water Consistently
Straw bales require regular watering, especially during warm and windy weather.
Check the moisture level by placing your hand into the bale near the root zone. The bale should feel moist but not permanently soaked.
Water deeply enough to reach the roots. Avoid watering only the surface.
A drip hose or soaker hose can provide consistent moisture while reducing the amount of time spent watering by hand.
During very hot weather, the garden may need to be checked daily.
Step 7: Feed the Plants
The straw bale provides structure and organic material, but growing plants may still require additional nutrients.
Use a balanced fertilizer or feeding program suitable for vegetables. Follow the label directions carefully, as too much fertilizer can harm plants.
Watch for signs of nutrient problems, including:
- Yellow leaves
- Slow growth
- Weak stems
- Poor flowering
- Small fruit
Regular feeding is particularly important for heavy-producing crops such as tomatoes, peppers, cucumbers, and squash.
Step 8: Add Plant Supports Early
Install cages, stakes, or trellises before plants become large.
Tomatoes may need sturdy cages or stakes. Cucumbers and beans can be trained to grow vertically. Supporting plants keeps fruit off the ground, improves air circulation, and makes harvesting easier.
Place supports carefully so they do not damage developing roots.
Common Beginner Mistakes to Avoid
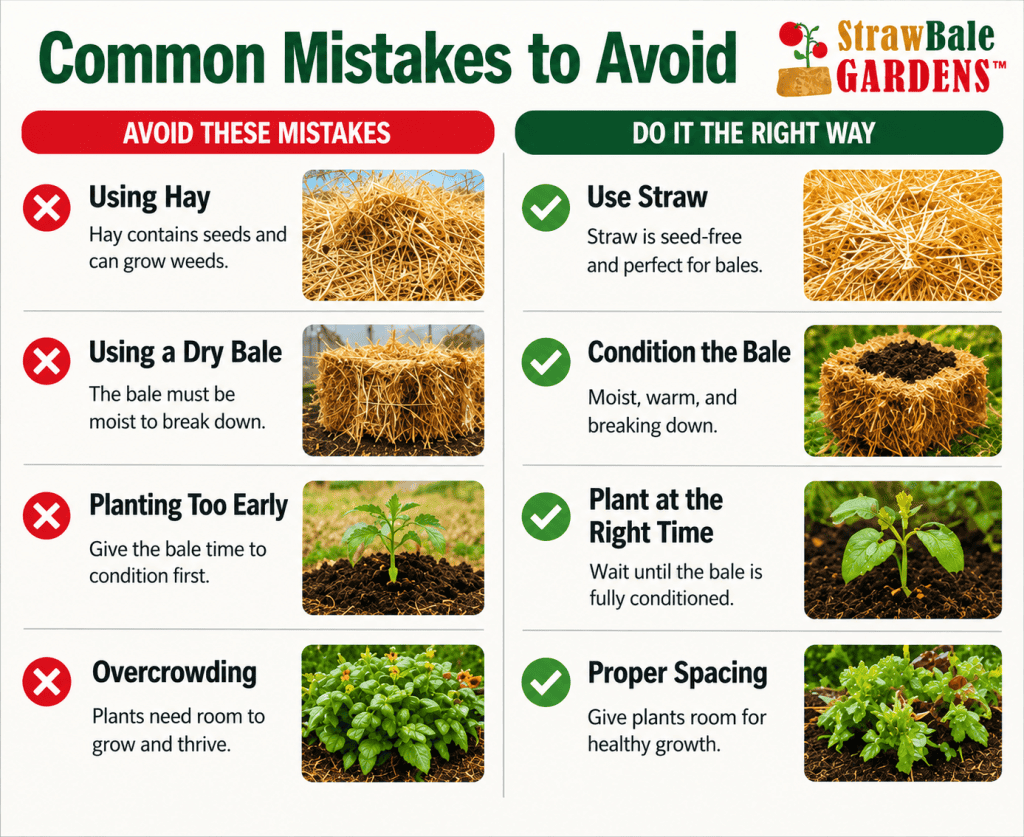
Planting before conditioning is complete
Fresh straw does not provide the proper environment for plant roots. Complete the conditioning process before planting.
Using hay instead of straw
Hay may contain many seeds and can create additional weed problems.
Allowing the bale to dry out
A dry bale can slow decomposition and stress the plants. Check moisture regularly.
Overwatering
Although bales drain well, constant heavy watering can wash nutrients away and weaken plant growth.
Planting too many large crops
Overcrowding reduces airflow, increases competition, and can lead to smaller harvests.
Ignoring plant nutrition
Plants need adequate nutrients throughout the growing season. Do not assume that decomposing straw alone will supply everything they require.
Waiting too long to install supports
Large plants are much harder to support after they begin leaning or spreading.
Tips for a Successful First Garden
Start small. A few well-managed bales are better than a large garden that becomes difficult to maintain.
Select crops that your household enjoys eating. Place the garden close to your home so you can check it regularly.
Keep simple notes about:
- Planting dates
- Varieties planted
- Watering frequency
- Fertilizer applications
- Pest problems
- Harvest results
These records can help you improve your garden in the following
Frequently Asked Questions
Can I place straw bales directly on grass?
Yes. Straw bales can usually be placed directly on grass. You may place cardboard or landscape material underneath if you want to suppress grass growth around the bales.
Can I use straw bales on concrete?
Yes, provided that the location receives enough sunlight and has suitable drainage. Remember that water may stain or collect on the surface.
Do straw bales attract pests?
Any garden can attract insects or small animals. Good sanitation, proper watering, healthy plants, and regular inspection can help reduce pest problems.
Can I garden without using soil?
The main root environment is the conditioned straw bale. However, a small amount of compost or potting mix is often used around seedlings or on top of the bale for starting seeds.
Can I grow organic vegetables in straw bales?
Yes. Use clean straw and choose organic conditioning nutrients, compost, fertilizers, seeds, and pest-control methods that match your gardening goals.
Is straw bale gardening good for seniors?
The raised planting height and reduced digging can make this method more accessible. Gardeners should still arrange the space safely and use tools suited to their physical needs.
Start Your First Straw Bale Garden
Straw bale gardening makes it possible to grow fresh vegetables and herbs without traditional garden soil, expensive raised beds, or difficult digging.
The key steps are simple:
- Choose clean straw bales.
- Place them in a sunny location.
- Condition them properly.
- Add seeds or seedlings.
- Water and feed the plants consistently.
- Support large plants.
- Enjoy the harvest.
Start with a few bales, choose beginner-friendly plants, and learn as your garden grows. With proper preparation and regular care, a simple row of straw bales can become a productive and enjoyable home garden.
Ready to Begin?
Explore our straw bale gardening guides, conditioning products, books, videos, and growing resources to help you build a successful garden from the very first bale.

